Ever wondered how people make those cool glass dome necklaces/rings?! I can now show you!
In these next 6 steps i'll explain how to make a glass dome pendant, and everything you need to do so. Although these can be fun to make, they can be quite tricky until you get the hang of it. So here goes:
Things you'll need before you start:
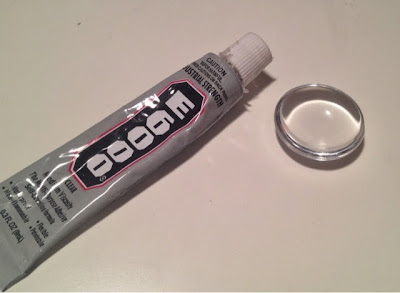
A book (if you chose to use your favourite character name or a quote), scissors, pen/pencil, small paint brush, Mod Podge glue/sealer, E6000 glue, 25mm round glass dome tiles and 25mm pendant tray blanks.Step 1:
Step 2:
Step 3:
Get one of you glass dome tiles, turn it so the flat side is facing you and squeeze out a dot of the E6000 glue. All you need is a decent sized dot, enough to cover the whole circle when squeezed down on it. *Don't apply too much or it won't dry properly*.
Step 4:
When you have applied the dot of E6000 to the tile, take your circle (from the book), place it so the side you want is face up, and set the tile flat onto it. You should see the glue now spreading out over the whole circle. When the glue has stopped spreading, press the tile down firmly (you may see excess glue seeping out, just wipe this off). If you see any air bubbles try and squeeze them out, but do not lift the tile back up or slide the tile as this will ruin the look with smears.
Step 5:
It is best to let the glass dome tile dry, but you can also follow this next step even if it hasn't dried completely. This time, get your blank pendant tray, put a dot of the E6000 glue onto your finger and spread it into the blank tray. I find by putting the glue onto your finger that you can control the amount of glue on the tray, and therefore not apply too much as this can also ruin the outcome after it has dried. You'll know you've applied enough glue when the tray has a 'tacky' feel to it, and it's not too wet.
Step 6:
Now set down your glass dome tile onto the 'tacky' pendant tray and apply some pressure to make sure the bottom side has stuck. Let the pendant dry for a few hours, and low and behold, you've made a glass dome pendant, perfect for adding to necklaces!
I hope this has explained to you how to make your own glass dome pendant! If you have any questions, please feel free to let me know!
Also if you would like a 'How to:' on making adjustable cord necklaces or anything else, do let me know in the comments.
- Nymph


No comments:
Post a Comment